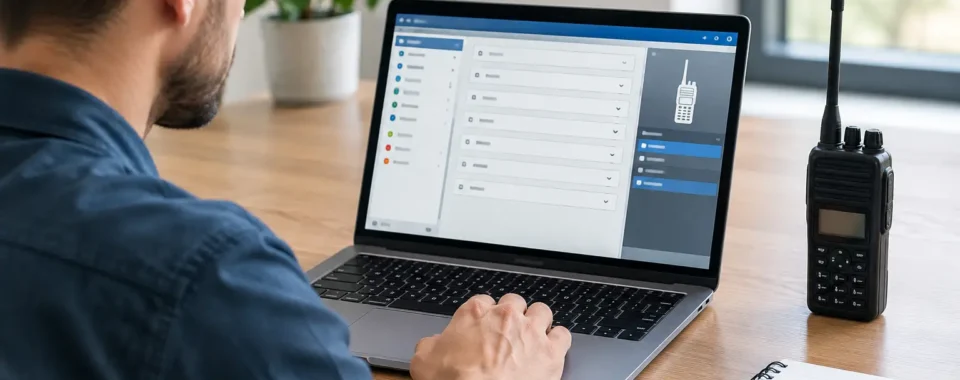

A DMR radio can have excellent coverage, a properly installed repeater, and a strong signal – yet still fail to connect the right people if its codeplug is built incorrectly. Learning how to program DMR talkgroups means understanding that a talkgroup is only one part of a working channel. It must match the correct frequency pair, color code, time slot, and radio contact settings used by your system.
For a small business fleet, a campus security team, or a group using an amateur DMR network, the objective is the same: make the radio simple to use when the user is busy. A field employee should be able to turn the channel selector, see a clear channel name, press Push-to-Talk, and reach the intended group without needing to understand the programming behind it.
Start With the System Information, Not the Radio Software
Before opening the customer programming software, collect the operating details for the repeater or DMR network you intend to use. This prevents a common mistake: building a clean-looking channel list that cannot pass traffic because one critical parameter is wrong.
For each repeater, document the transmit frequency, receive frequency, color code, and assigned time slot. You also need the talkgroup name and numerical talkgroup ID. In most commercial DMR systems, your radio provider or system administrator supplies these values. On amateur systems, they are usually published by the repeater owner or network administrator.
Do not assume settings carry over from one repeater to another. Two nearby repeaters may use different color codes, time-slot assignments, or talkgroup policies. A talkgroup that works on Time Slot 1 at one location may be assigned to Time Slot 2 somewhere else.
If this is a licensed business system in the United States, use only the frequencies, emission designators, and operating parameters authorized under your FCC license or coordination agreement. Programming an available frequency into a radio does not create permission to transmit on it.
Understand the DMR Pieces That Must Work Together
DMR programming terminology varies a little between manufacturers, but the core logic is consistent. The codeplug is the complete configuration file loaded into the radio. Within that codeplug, a usable DMR channel combines several settings.
A digital contact identifies who the call is directed to. For talkgroups, the contact type is normally Group Call, and the contact number is the talkgroup ID. A private-call contact is different: it calls one radio ID rather than everyone assigned to a group.
A channel holds the RF and digital operating settings. That includes receive and transmit frequencies, bandwidth, color code, time slot, the selected transmit contact, and often an RX group list.
An RX group list tells the radio which group calls to open the speaker for while the channel is selected. This is useful when several talkgroups share the same repeater and time slot. Without the appropriate receive group list, a radio may transmit successfully but remain silent when another group is talking.
A zone is simply an organized bank of channels. Think of it as a folder or channel selector page. A delivery team might have a zone for its home area, another for a second facility, and a third for regional travel channels.
The color code is DMR’s access identifier for a repeater. It works somewhat like a digital version of an analog access setting. The wrong color code usually means the repeater will not accept your transmission, even if the frequencies are correct.
Finally, a DMR repeater uses two time slots. This is where many programming issues begin. DMR divides one 12.5 kHz channel into two alternating voice paths, allowing two conversations at once. Your selected talkgroup must be programmed on the time slot assigned by the system design.
How to Program DMR Talkgroups Step by Step
1. Create the digital contacts
In your radio’s programming software, begin by adding each talkgroup as a digital contact. Give it a name that makes sense to the actual user, not just the programmer. “Dispatch,” “Warehouse,” “Maintenance,” and “Event Operations” are clearer on a radio screen than a long technical label.
Set the call type to Group Call and enter the exact talkgroup ID. Confirm the number carefully. A single incorrect digit can send calls to the wrong group or nowhere at all.
For commercial systems, keep the contact list focused. Loading hundreds of unused contacts can make the codeplug harder to maintain and can slow down programming changes later. Amateur users who travel or use several networks may reasonably need a larger contact database, but their everyday zone should still be kept simple.
2. Build the repeater channels
Create a separate digital channel for each talkgroup and time-slot combination you want users to access directly. Enter the repeater’s receive and transmit frequencies, then set the correct color code and time slot.
Next, select the talkgroup contact as the channel’s transmit contact. If Dispatch uses Talkgroup 100 on Time Slot 1, the Dispatch channel needs both Talkgroup 100 and Time Slot 1. Choosing the right contact on the wrong time slot will not produce the intended result.
Set transmit power based on your system design and radio location. Higher power is not always better. On a well-designed in-building or campus system, excessive power can contribute to interference or complicate coverage testing. Follow the direction of the system administrator or radio technician.
3. Add the right RX group list
If users need to hear multiple groups while parked on a channel, create an RX group list containing those approved talkgroups. Attach that list to the appropriate channel.
For example, a supervisor channel may transmit to Operations but receive both Operations and Safety on the same time slot. That can be useful, but it also means more traffic will open the radio speaker. For many teams, separate channels are cleaner: one channel for Operations, one for Safety, and one for Dispatch.
Avoid putting every talkgroup into every RX group list. It makes radios noisy and causes users to miss the calls that actually matter. In operational communications, fewer well-defined choices are generally better than a channel plan with too much overlap.
4. Organize channels into practical zones
Once the channels work individually, assign them to zones that mirror the way the team operates. A multi-site company might use zones labeled Main Facility, North Yard, South Yard, and Emergency. An event operation may prefer Setup, Event Day, Security, and Staff Coordination.
Keep high-priority channels near the top of each zone. If radios have an emergency button, confirm exactly which channel and talkgroup it uses. Emergency behavior varies by manufacturer and system configuration, so this should be tested rather than assumed.
5. Set scan, admit, and call settings deliberately
Scanning can be helpful for supervisors and dispatch positions, but it has trade-offs. A radio that scans multiple DMR channels may take longer to settle on activity, and users can be confused if audio appears unexpectedly from another group. For frontline users, a dedicated selected channel is often more dependable.
Also review the transmit admit criteria. Some radios can prevent a user from transmitting when the channel or time slot is busy. This can reduce collisions, but it can also surprise a user who hears a busy tone and does not know why the radio will not transmit. Configure the behavior to suit the system and train users on what the tones mean.
6. Write the codeplug and test in the real coverage area
After writing the codeplug to the radio, test every channel with another radio on the system. Verify that each unit can transmit and receive on the intended talkgroup, that names display correctly, and that the selected zone order makes sense for the user.
Test at the places where communication matters most: loading docks, stairwells, remote acreage, parking areas, mechanical rooms, and the outer edges of a work site. A successful bench test does not prove reliable field coverage.
Common DMR Talkgroup Programming Problems
When a DMR radio receives but cannot transmit, or transmits but nobody hears it, start with the basics. Verify the frequency pair, color code, time slot, and transmit contact. Those four settings account for many failures.
If the radio can transmit to a group but does not hear replies, check the RX group list and confirm the other radios are using the same repeater, time slot, and talkgroup. Also confirm that the system has not changed its talkgroup assignment or repeater policy.
A radio that displays a signal indicator but will not pass voice may be hearing a different digital system or an incompatible configuration. Signal strength alone is not proof that the radio is correctly programmed for that repeater.
Another frequent issue is mixing commercial and amateur expectations. Amateur DMR networks may use network-specific talkgroup routing, dynamic group behavior, or time-slot rules that do not apply to a private business repeater. A commercial system is usually designed around predictable local operations, while a linked amateur network may have policies intended to manage wide-area traffic.
Make the Channel Plan Easy to Maintain
A DMR codeplug should be treated as operational documentation, not a one-time file. Save a dated master copy, record what changed, and keep a clear table of talkgroups, IDs, time slots, and intended users. When a new radio is added, it should receive the same tested configuration rather than an improvised version.
For larger fleets, standardize channel names and zone order across all radios. A supervisor should not have to remember that Channel 3 means Dispatch on one unit but Maintenance on another. Consistency shortens training time and reduces mistakes during busy shifts.
If you are building a new DMR system, Cogent Radios Group can help translate your team structure and coverage needs into a practical channel plan. The best programming is not the configuration with the most talkgroups. It is the one that gives every user a clear, reliable path to the right person when the message cannot wait.